

The first pair of trim-to-fit insoles I ruined, I cut them to match the outside of my shoe instead of the factory footbed. They came out a quarter inch long, curled my toes up against the front of the shoe, and by the end of the shift I had pushed them so far forward that the heel was under my arch. I have managed the deli and bakery at a grocery store in Ogden, Utah, for 22 years, ten-hour shifts on sealed concrete, and I have made every mistake there is with insoles. The fix was not a better pair. It was a better trim.
Dr. Scholl's Work All-Day Superior Comfort Insoles are the pair I keep coming back to for work shoes. They are a trim-to-fit gel insole with arch support, and the listing says they are built to distribute foot pressure and help reduce muscle fatigue so you can stay on your feet longer. The massaging gel and the shock absorption are the parts I notice by 2 p.m. The Polygiene StayFresh technology is the part I notice when I take my shoes off in the mudroom. But none of that matters if you cut them wrong. Here is the method I use now, in the order I do it. It takes about ten minutes and one pair of heavy scissors, and it works on the work shoes I actually wear: the ones with a removable factory footbed, a wide forefoot, and no room to spare.
Cut Once, Stand All Shift
The right trim starts with the right insole. Dr. Scholl's Work All-Day Superior Comfort Insoles are made for hard floors and long days, and they are built to be cut to your shoe. Get the pair, then follow the five steps below.
Amazon Check Today's Price on Amazon →Step 1: Pull the Factory Footbed and Use It as Your Pattern
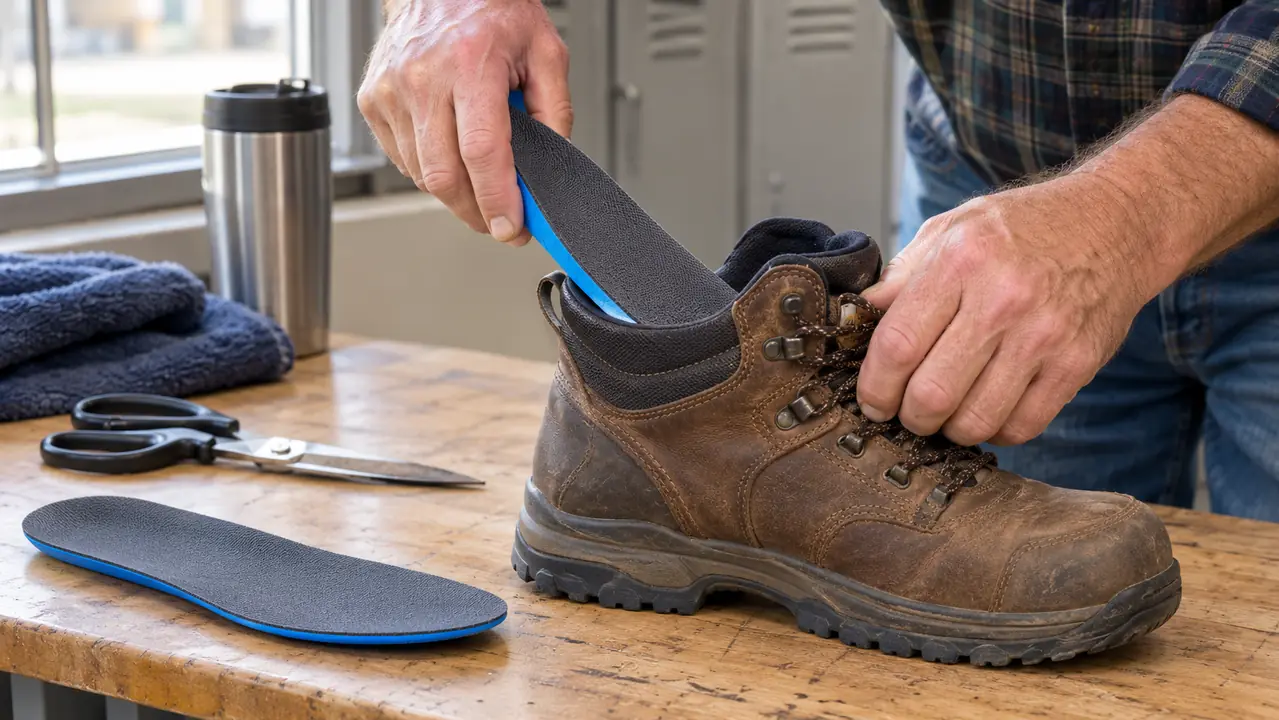
Most work shoes come with a removable factory footbed. Take it out. If it is glued down, do not pry it up with a screwdriver; you will tear the lining. Set the new insole on top of it and check the toe room before you cut anything. If the shoe has a removable footbed, that footbed is your pattern. It already has the shape of the shoe, including the width at the ball of the foot and the taper at the toe.
Put the factory footbed on the table, bottom down. Set the Dr. Scholl's insole on top, heel to heel, and line up the arch on the side you can see. Do not line up the toes yet. The heel is the fixed point. If the heel is off by an eighth of an inch, the whole insole will sit forward and your toes will hit the front of the shoe. Once the heels are matched, look at the toe and the outside edge.
The first time I did this, I tried tracing the footbed with a ballpoint pen and cutting along the line. The pen skipped on the gel backing and my line wandered a full eighth of an inch by the toe. I ended up with two insoles that were close but not the same, and the right one was short enough to slide forward under my arch by mid-morning. Skip the pen. Cut with the factory footbed pressed flat against the insole and your scissors riding right along its edge. It is faster and both sides come out identical.
Trim the left insole first. When it fits, use that trimmed insole as the pattern for the right one, flipping it over so the left and right curves match. This is faster than measuring twice, and it keeps the pair symmetrical. If you are between sizes, or your forefoot is slightly wide like mine, start with the larger outline and take off less at the ball of the foot.
Step 2: Trim From the Toe, a Little at a Time
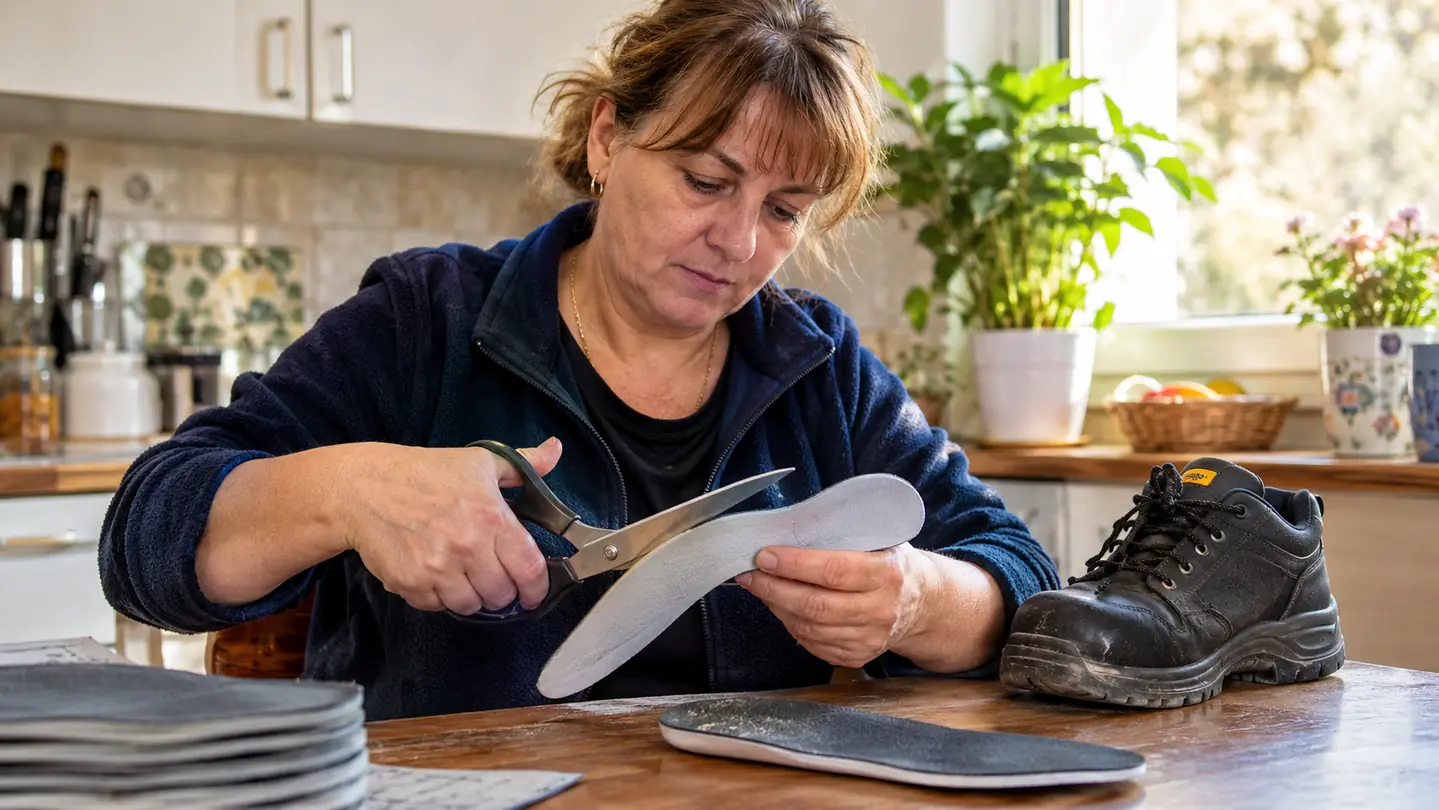
Use heavy kitchen scissors or tin snips, not nail scissors. The gel is tougher than it looks. Make one cut across the toe, following the factory outline, and leave yourself a sixteenth of an inch of margin. You can always take more off. You cannot put it back.
Never trim the heel or the arch side on the first pass. The heel and the arch are the parts that keep the insole anchored and give you the support the listing talks about. If you cut into the heel, the insole loses its anchor. If you cut the arch too narrow, it will roll under your foot by midday.
Check the width at the ball of the foot against the factory footbed. A trim-to-fit insole should fill the shoe without curling up the sides. If the edge stands up like a taco, it is too wide. Take a sliver off each side, not all off one side. Keep the curve smooth. Jagged edges catch on socks and roll under your toes.
If the scissors start dragging instead of slicing, stop and sharpen them or borrow a better pair. Dull scissors crush the gel edge instead of cutting it clean, and a crushed edge is the one that curls up and rubs against the side of your foot. I keep a pair of kitchen shears that only get used for this job and for cutting twine, because once they go through gel a couple of times they are not much good on a tomato.
Step 3: Test the Fit in the Shoe, Not in Your Hand
An insole can feel perfect in your hand and terrible in the shoe. Put the trimmed insole in the shoe, press the heel all the way back, and run your finger around the edge. Your finger should feel the insole edge sitting flat against the shoe, not climbing up the side. If the insole buckles under your arch, it is too wide or the shoe is too narrow. If it slides forward when you press down, it is too long.
Stand up. Put your full weight on it. Your toes should not curl over the front edge, and the ball of your foot should sit on the widest part of the insole, not behind it. If you feel the front edge with your toes, mark it with a pencil and take off another eighth of an inch. If the insole slides forward, mark the toe and trim again. Do this before you wear them for a shift, not during one.
Do the same check in the second shoe. Work shoes are not always identical, especially if one pair is older. I learned this the hard way with a pair I had worn for about fourteen months. The left shoe had stretched enough at the ball that an insole trimmed for the right one sat tight and buckled, so I had to take another thirty-seconds off the outside edge. If you keep two pairs in rotation, fit the insoles to the pair you wear most and test the other pair before you cut a second set. A pair that fits one shoe can be a quarter inch too long in another.
The cut is the whole job. A quarter inch too long and your toes curl. A quarter inch too short and the insole slides forward by noon.
Step 4: Break Them In on a Short Day
New gel insoles need warmth to soften. Your body heat does that, but it takes time. Wear them for two hours on the first day, then four, then a full shift. If you put them in on a Monday and work a ten-hour day, you will spend the last two hours thinking about your feet instead of your list.
Start on a day when you can sit for a few minutes if you need to. I break mine in at home on a Saturday, walking around the kitchen and up and down the stairs, then wear them for a short shift. If you feel a hot spot under your heel or the ball of your foot, take them out and check the edge. Most hot spots come from a rough trim or a wrinkle, not from the gel.
Expect a little firmness the first two days. Gel insoles feel stiffer out of the package than they will after a week of body heat, and the first shift in a fresh pair always feels slightly odd under the arch. What you should not feel is pressure at the very front of the shoe or a wrinkle under your toes. Those are trim problems. Fix them now, while the insole is still new enough to cut cleanly. After a month of shifts the gel takes a set and a second trim tends to tear.
This is also the week to use your rotation. I keep two pairs of work shoes and alternate days so each pair dries out. One pair of insoles can move between the two pairs, but if you are swapping every morning, a second pair saves you the hassle. Either way, give the gel a day to air out and go back to its shape.
Step 5: Air Them Out and Replace Them When the Gel Goes Flat
Polygiene StayFresh helps with odor and moisture, but it does not make the insole self-cleaning. Pull them out after every shift and let them air. If your shoes live in a locker, take the insoles out and stand them on edge. If they get wet from rain or a spill, wipe them with a damp cloth and a little mild soap, then let them air dry away from a radiator or a dryer. Heat will warp the gel.
Replace them when the top surface wears through at the heel or the ball of the foot, or when the gel stays compressed after you take your weight off. You will feel the shoe under your foot again. That is the signal. A fresh pair saves you a week of limping, and it is easier than trying to patch a torn top layer with tape.
For me it runs about every four months on the pair I wear three days a week, and sooner in summer when the cooler and the fryer have me sweating through my socks by nine in the morning. I write the date on the inside of the box with a marker when I open a new pair, because otherwise the months run together and I end up blaming my shoes for a flat insole. If you have plantar fasciitis in your history, as I do, this is not a treatment. It is a comfort layer. The Dr. Scholl's insole gives you cushioning and arch support, and that can make a long shift easier on your feet. It does not replace stretching, good shoe fit, or a doctor's advice. I mention that because I wish someone had told me sooner.
What Else Helps
The insole is one part of the equation. The sock matters more than people think. A thin cotton sock holds moisture and packs down, and then the insole feels harder by the end of the day. A moisture-wicking sock, even a basic one, keeps the gel from feeling slick and keeps your foot from sliding. In winter, I wear a wool blend; in summer, a synthetic blend. I do not wear the same sock two days in a row.
Shoe fit matters too. If your work shoes are tight across the ball of the foot, no insole will feel right. Take the factory footbed with you when you shop, or try the shoes on at the end of the day when your feet are at their widest. A wide forefoot needs a wide shoe, not a bigger size. And if your store allows it, an anti-fatigue mat at your station is worth asking for. So is a five-minute sit-down halfway through the shift. None of this is medical advice. It is what keeps me on my feet.
Your Next Shift Starts With the Right Cut
Fit them once, and the insole disappears into the shoe. Dr. Scholl's Work All-Day Superior Comfort Insoles are trim-to-fit, with massaging gel and arch support for hard floors and long days. Take ten minutes, follow the five steps, and stop thinking about your feet by lunch.
Amazon Check Today's Price on Amazon →